


Mainpartsexpansiondiagram

Installation and Usage Tools

Installation Steps
Step 1: Unpack all the packaging and check each component as per the packing List to ensure that they are complete.
precautions for installation: Ensure the cement hardening of the installation ground and the position off our columns,level the ground (e.g.,if the height of one column is uneven, it can be leveled on site).The uneven height of the fourcolumns will affect the smooth ness of wind proof rolling up and down.
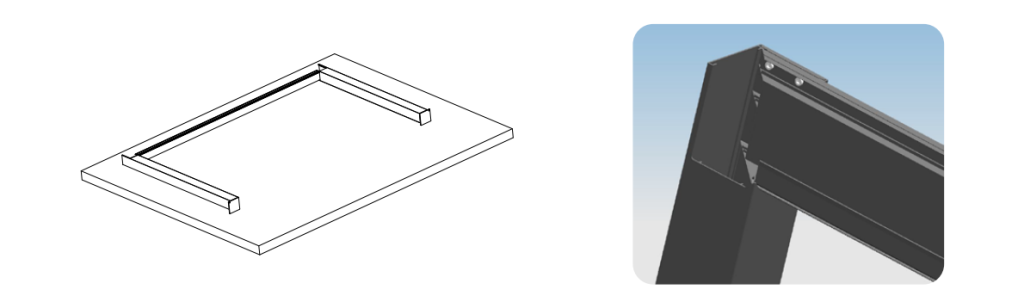
Step 2: Install the long edge frame of the pavilion first.
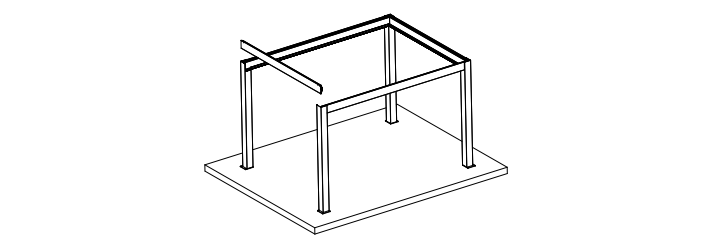
Step 3: After the two symmetric long edge frames are installed, stand them Up and have four people hold each column to keep from falling.

Step 4: Install the two short side frames in sequence.
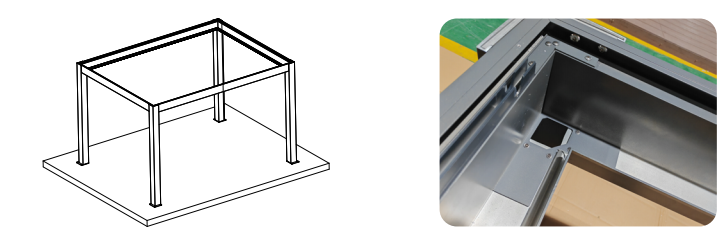
Step 5: After the frame work is tightened,install corner brackets.
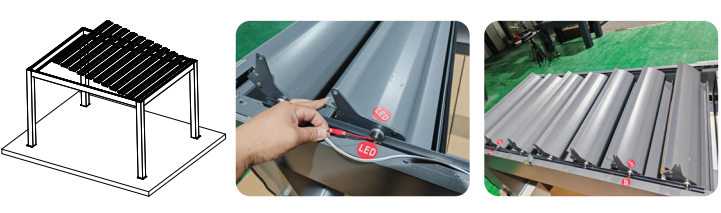
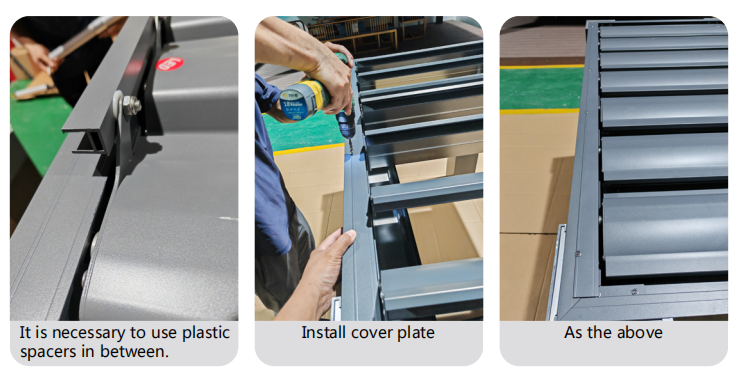
Step 6: Insert the shutter blades in order.The height of one LED Strips are labeled as such and the LED Connections are plugged in.
Step 7: Install the connecting rod and tighten the anti-loosening nut. Donotfully tighten it, allowing the screw to move freely within the inner hole of theconnecting rod.
Step 8: Install the motor

Step 9: Measure the outline dimensions of the columns according to thedrawings and pull out the diagonal lines.
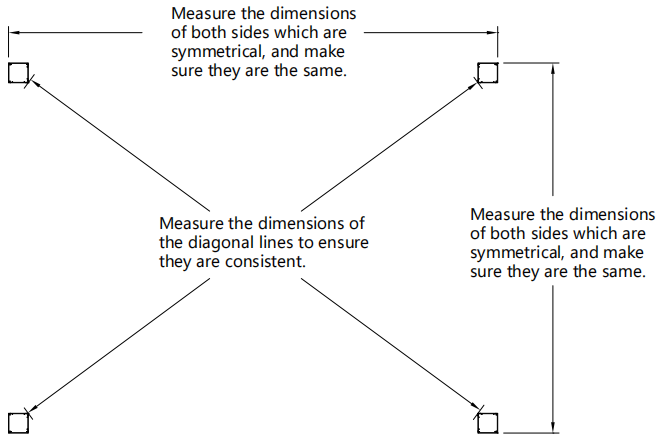
Step 10: After confirming that there are no errors in the dimensions, drive the expansion bolts to secure them.
Note: If there is a windproof rolling shutter on the side, wait until the foursided rolling shutter is installed before fixing the expansion bolts.
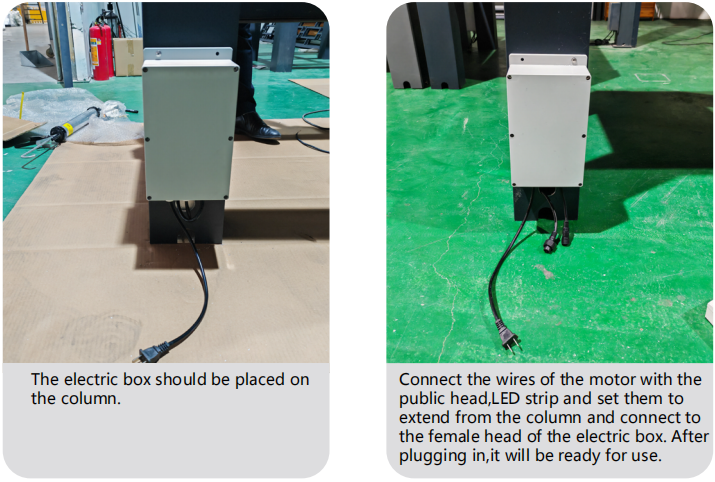
Step 11: Install the electric box and activate it.
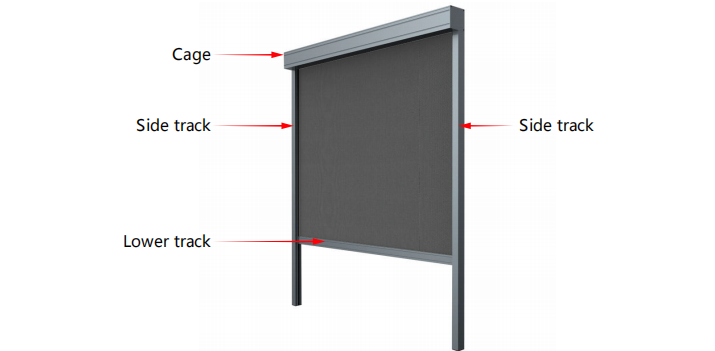
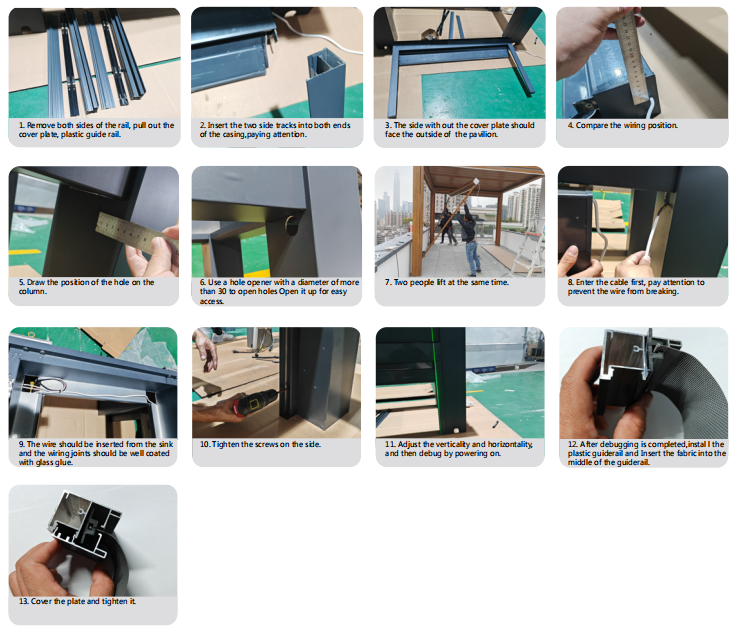
Step 12: Install the side wind proof rolling shutter.
Note:The wind proof rolling shutter needs to be wired separately and can share the plug with the Electric box.
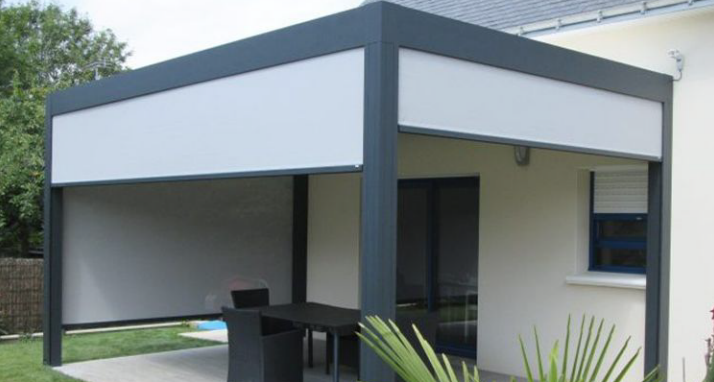
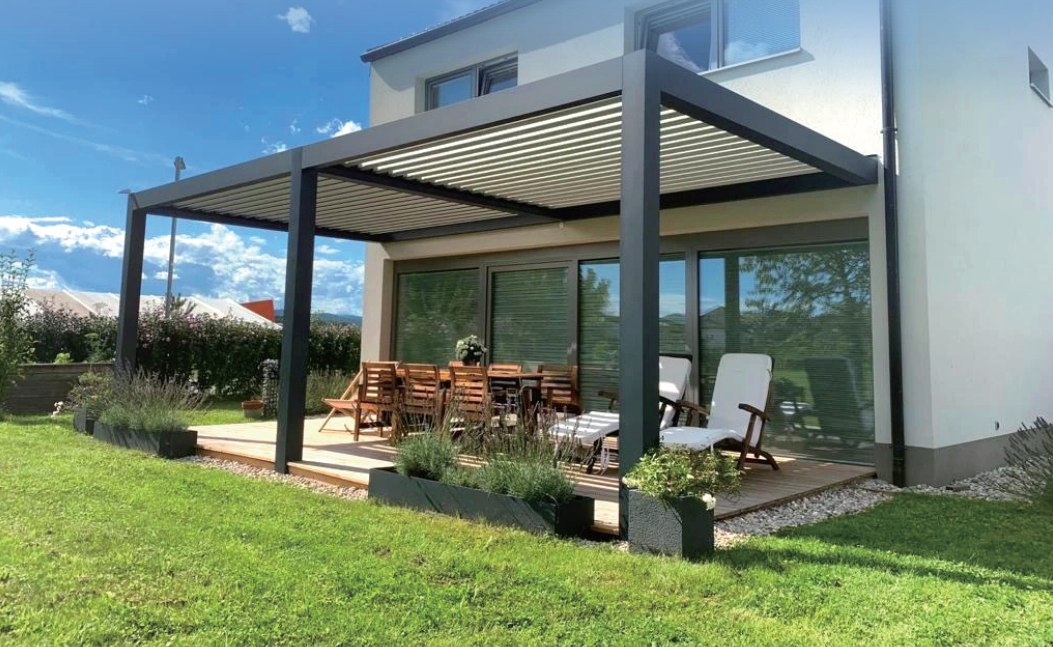
Installation is complete.The effect can be seen in the reference picture
Leave a Reply